We like to include seasonal changes in our creative, art-based therapeutic groups.
As springtime approaches and the weather warms up, we focus on plants and flowers, being outside in nature, and acknowledging the beginning of a new season. This can be a very mindful and reflective experience.
When you sit outside in early spring, whether in your garden, a park or other public space, take a moment to absorb your surroundings:
What trees can you see with new buds or the beginnings of fresh leaves?
Are there blossom trees around?
Which flowers are beginning to bud?
Daffodils, bluebells and snowdrops are all signs that spring is fast approaching; can you see any of these?
Scents are also an important factor when spending mindful time within nature; can you smell the soil if it’s a damp, dewy morning? What about the smell of cut grass?
Scents can provoke memories, and taking note of different springtime smells helps you to remain focused in the moment.
It’s also interesting to take note of sounds when sitting peacefully. Can you hear birds tweeting? Can you hear squirrels rustling in the trees or the gentle hum of the first few bumblebees buzzing? Taking time to sit quietly looking, listening and absorbing the natural world around you is an excellent therapeutic technique that can help keep you focused on the present and the beauty of our natural world. This kind of mindful activity can help to reduce anxiety, relieve stress and provide a positive and peaceful mindset for the day ahead.
Let’s get crafty
What you’ll need
Scissors
PVA glue
Assorted coloured card
A large embroidery needle
Mounting board with frame
Coloured embroidery thread
Assorted coloured tissue paper
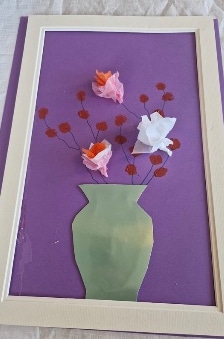
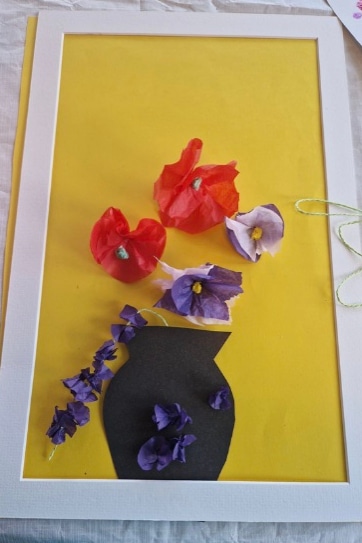
People have utilised nature as creative inspiration for hundreds of years. In our springtime session, we used coloured card and tissue paper to create beautiful 3D floral artwork.
Start by choosing your colour scheme and decide which flowers you’d like to make. You don’t have to make the flowers realistic; you can be as colourful and creative as you like. Using a needle and embroidery thread, make holes in the tissue paper and poke them through your backing card. Rustle up the tissue paper to create a 3D effect. You can also use coloured embroidery thread for the stems of the flowers. Using PVA glue, stick down the design for the vase and any leaves, stems or flowers around the centre of the piece.
Keep building up your creation until you’re happy with it, and then set aside to let it dry before using a mounting board to frame the final design.
If you’d like to know more about Pilgrims Hospices’ Wellbeing services, email our team with any questions at [email protected] or call the Pilgrims Hospices Advice Line on 01233 504 133.
21st March 2023
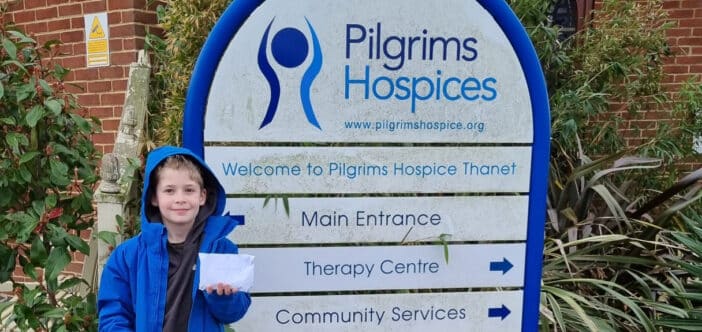
9-year-old Jonny raises over £100 for local hospice care
Young Pilgrims Hospices supporter, Jonathan Brown from Margate, has raised more than £100 for local hospice care. He collected donations in memory of his Pop Pops, who was cared for at the Thanet hospice in 2018.
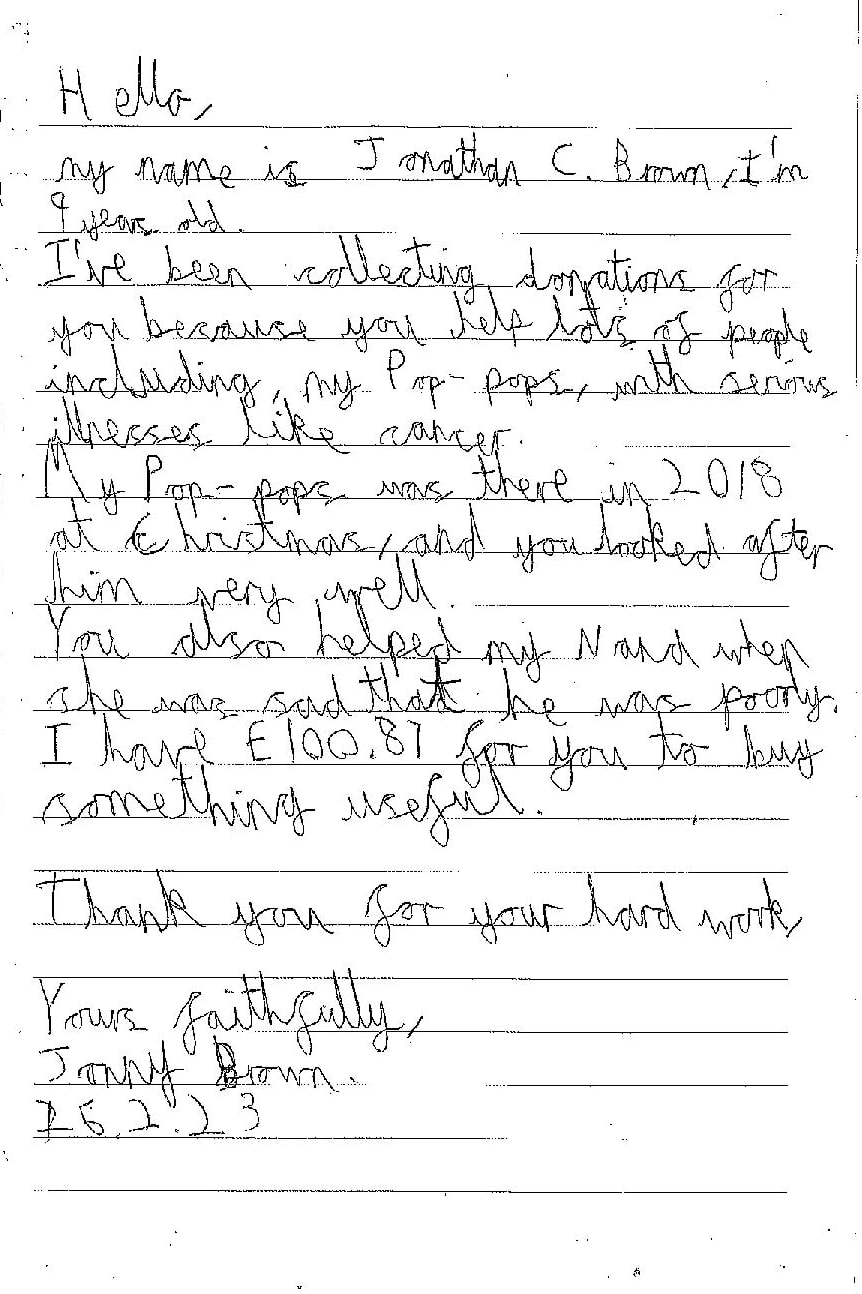
Jonny’s letter to Pilgrims
Before Christmas, Jonny who attends Cliftonville Primary School, made a collection pot during his break time; he told people about Pilgrims Hospices and the important work they do, and asked if anyone would like to donate to help the hospice to care for even more people.
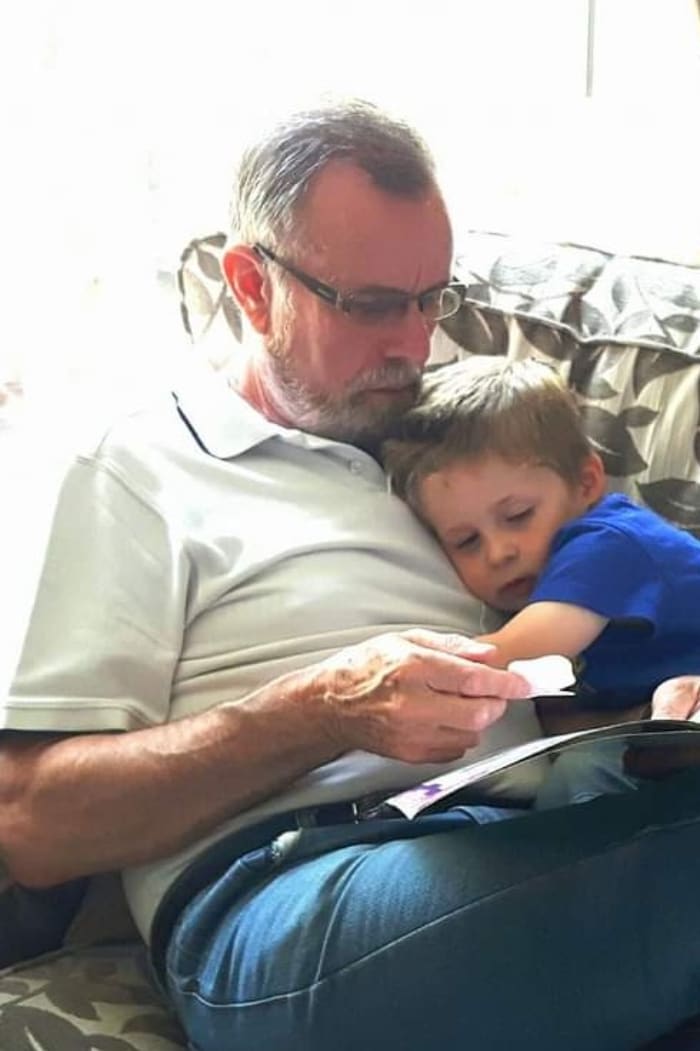
Jonny (age 9), sent Pilgrims a lovely letter, along with his £105.00 donation, explaining how the charity had cared for his Pops. Roger Golding from Cliftonville, who was 68, had a cancer diagnosis, and passed away at the Thanet hospice on Christmas Day 2018. Pilgrims also supported his Nana, Julie Golding when she was very sad.
Karen Kenward, Pilgrims Community Fundraising Manager said: “Thank you Jonny! Your special message warmed all of our hearts, you can be sure your donation will truly help to make a difference to those how need our care.
“We are so proud to have the support of such a young fundraiser, Jonny will be an inspiration to others with their continuing support of Pilgrims special care.
“It was lovely to hear the positive memories of his Pops and the care, and support that his family received at such a difficult time, once again, thank you so very much.”
Jonny with his Pop Pops, Roger
Jonny’s mum Hannah Brown said:
“Last year, Jonny’s older sister Ellie (age 11) had her hair cut to raise money for charity, and this inspired him to want to fundraise. Jonny decided he really wanted to help the hospice as they provide amazing care, and support for patients and their families; something we ourselves have benefited from.
“He made a collection pot, and spoke to people about the wonderful work the hospice team do. He worked really hard to secure donations from friends and family, with the intention of only raising £20, but his enthusiasm took over, and he eclipsed his original goal.
“We are really proud of Jonny and how well he has done with his fundraising.”
Pilgrims Hospices cares for thousands of local people each year, free of charge, during the most challenging time in their lives. They offer care and support in people’s own homes, in the community and in their inpatient units as well as running a 24-hour advice line.
20th March 2023
Meet Pilgrims Hospices’ social work team
Pilgrims Hospices is proud to provide holistic, compassionate palliative care across east Kent. The charity supports people in many different ways, and social work is an integral part of this.
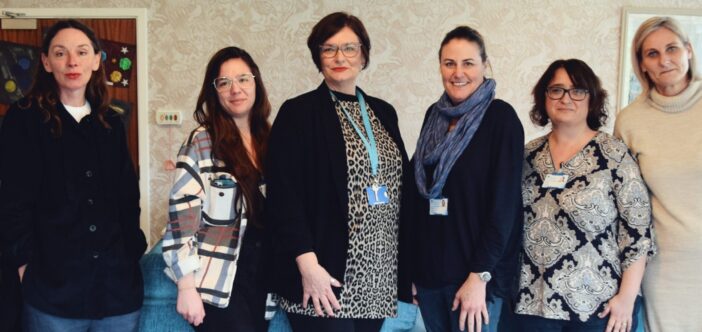
To celebrate World Social Work Day 2023, Sophie Van Walwyk, Head of Psychosocial, Wellbeing and Bereavement Services, and her team explain the vital role that social workers play within hospice care supporting patients, families and communities during uncertain and difficult times.
Sophie Van Walwyk, Social Work Lead
People often think that working at a hospice is challenging and sad. Sometimes it can be, but for me, supporting patients and their loved ones at the end of life is both an honour and a privilege.
My first experience of Pilgrims’ care was during my social work training when I shadowed the Ashford hospice team. I was so inspired by the practice I observed, which I felt reflected the core values of the social work profession. This left a lasting impression, and I began considering a career in palliative and end-of-life care.
I joined Pilgrims in 2015, initially as a social worker at the Thanet hospice, but soon progressing to the role of Lead Social Worker, managing teams across our three sites. My role continued to grow, and I’m now responsible for all teams providing psychological, social and spiritual care.
The psychosocial elements of hospice care are just as important as the care provided by our nurses and doctors. We consider the whole person, not just their illness or disease. We not only meet their physical needs, but also their psychological, social and spiritual needs.
Zoe Stoneham, Social Worker at Pilgrims Hospice Thanet
Palliative, end-of-life and bereavement care matters to everyone. Palliative social workers use their skills to help people deal with what is happening to them, including loss and grief. They also:
Support people in expressing what’s important to them and encourage open conversations
Coordinate care provisions
Liaise between professionals
Support with decision making
Draw on legislation, if required
Support with safeguarding of anyone who may be at risk of abuse/harm
I joined Pilgrims in 2016, having previously worked as a case manager in adult social services for Kent County Council. This role gave me many skills, which I was able to bring to Pilgrims.
I love being patient-facing and meeting people in the community, our Therapy Centres, clinics and on the ward. We offer practical help at home, signposting to other services, advocacy work, psychological support and discharge planning from our in-patient ward.
We’re also experienced in therapeutic work with patients and support carers with their wellbeing. I often signpost or refer to our in-house carers groups, which provide a safe space for carers to share their experiences with others in similar situations.
Clare Friel, Social Worker at Pilgrims Hospice Ashford
As a social worker, each day is different, which I love; there is an ever-present need to respond to the unexpected. I get to work alongside skilled colleagues from the multi-disciplinary team, and we’re constantly learning from each other.
I have regular opportunities to introduce myself to people at a time of heightened emotion, and I’m always awed by the generosity with which my support is received. I’m reminded daily of the brevity of life and the importance of empathy, self-determination and dignity.
Sophie Skardon, Social Worker at Pilgrims Hospice Canterbury
I joined Pilgrims in 2018 as a student social worker, and the experience stayed with me as I started my career. In 2021, I returned as a qualified social worker, based at the Canterbury hospice. We support both patients and their loved ones in so many ways. This can include navigating care pathways for support in the home, as well as offering advocacy and psychosocial support.
Pilgrims Hospices cares for thousands of local people each year, free of charge, during the most challenging time in their lives. They offer care and support in people’s own homes, in the community and in their inpatient units as well as running a 24-hour advice line.
15th March 2023
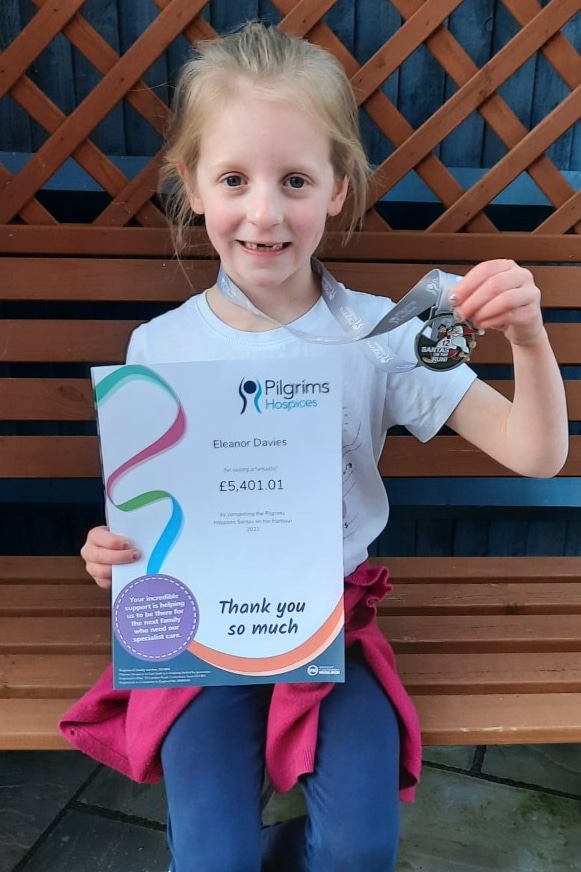
Fantastic fundraiser Eleanor raises over £5,000 for Pilgrims Hospices
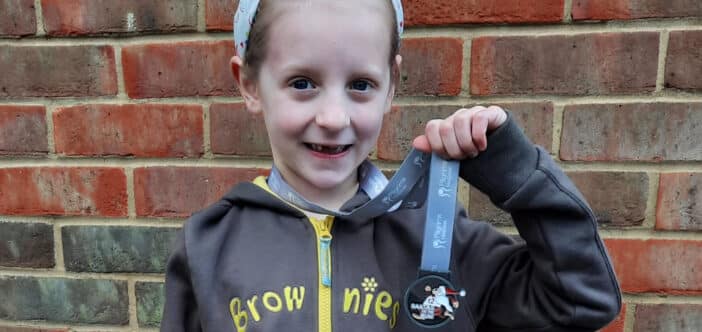
Eleanor Davies from Ashford hopes to inspire other children to fundraise for charity. Aged just 7-years-old, Eleanor recently raised an incredible £5,401.01 for local hospice care.
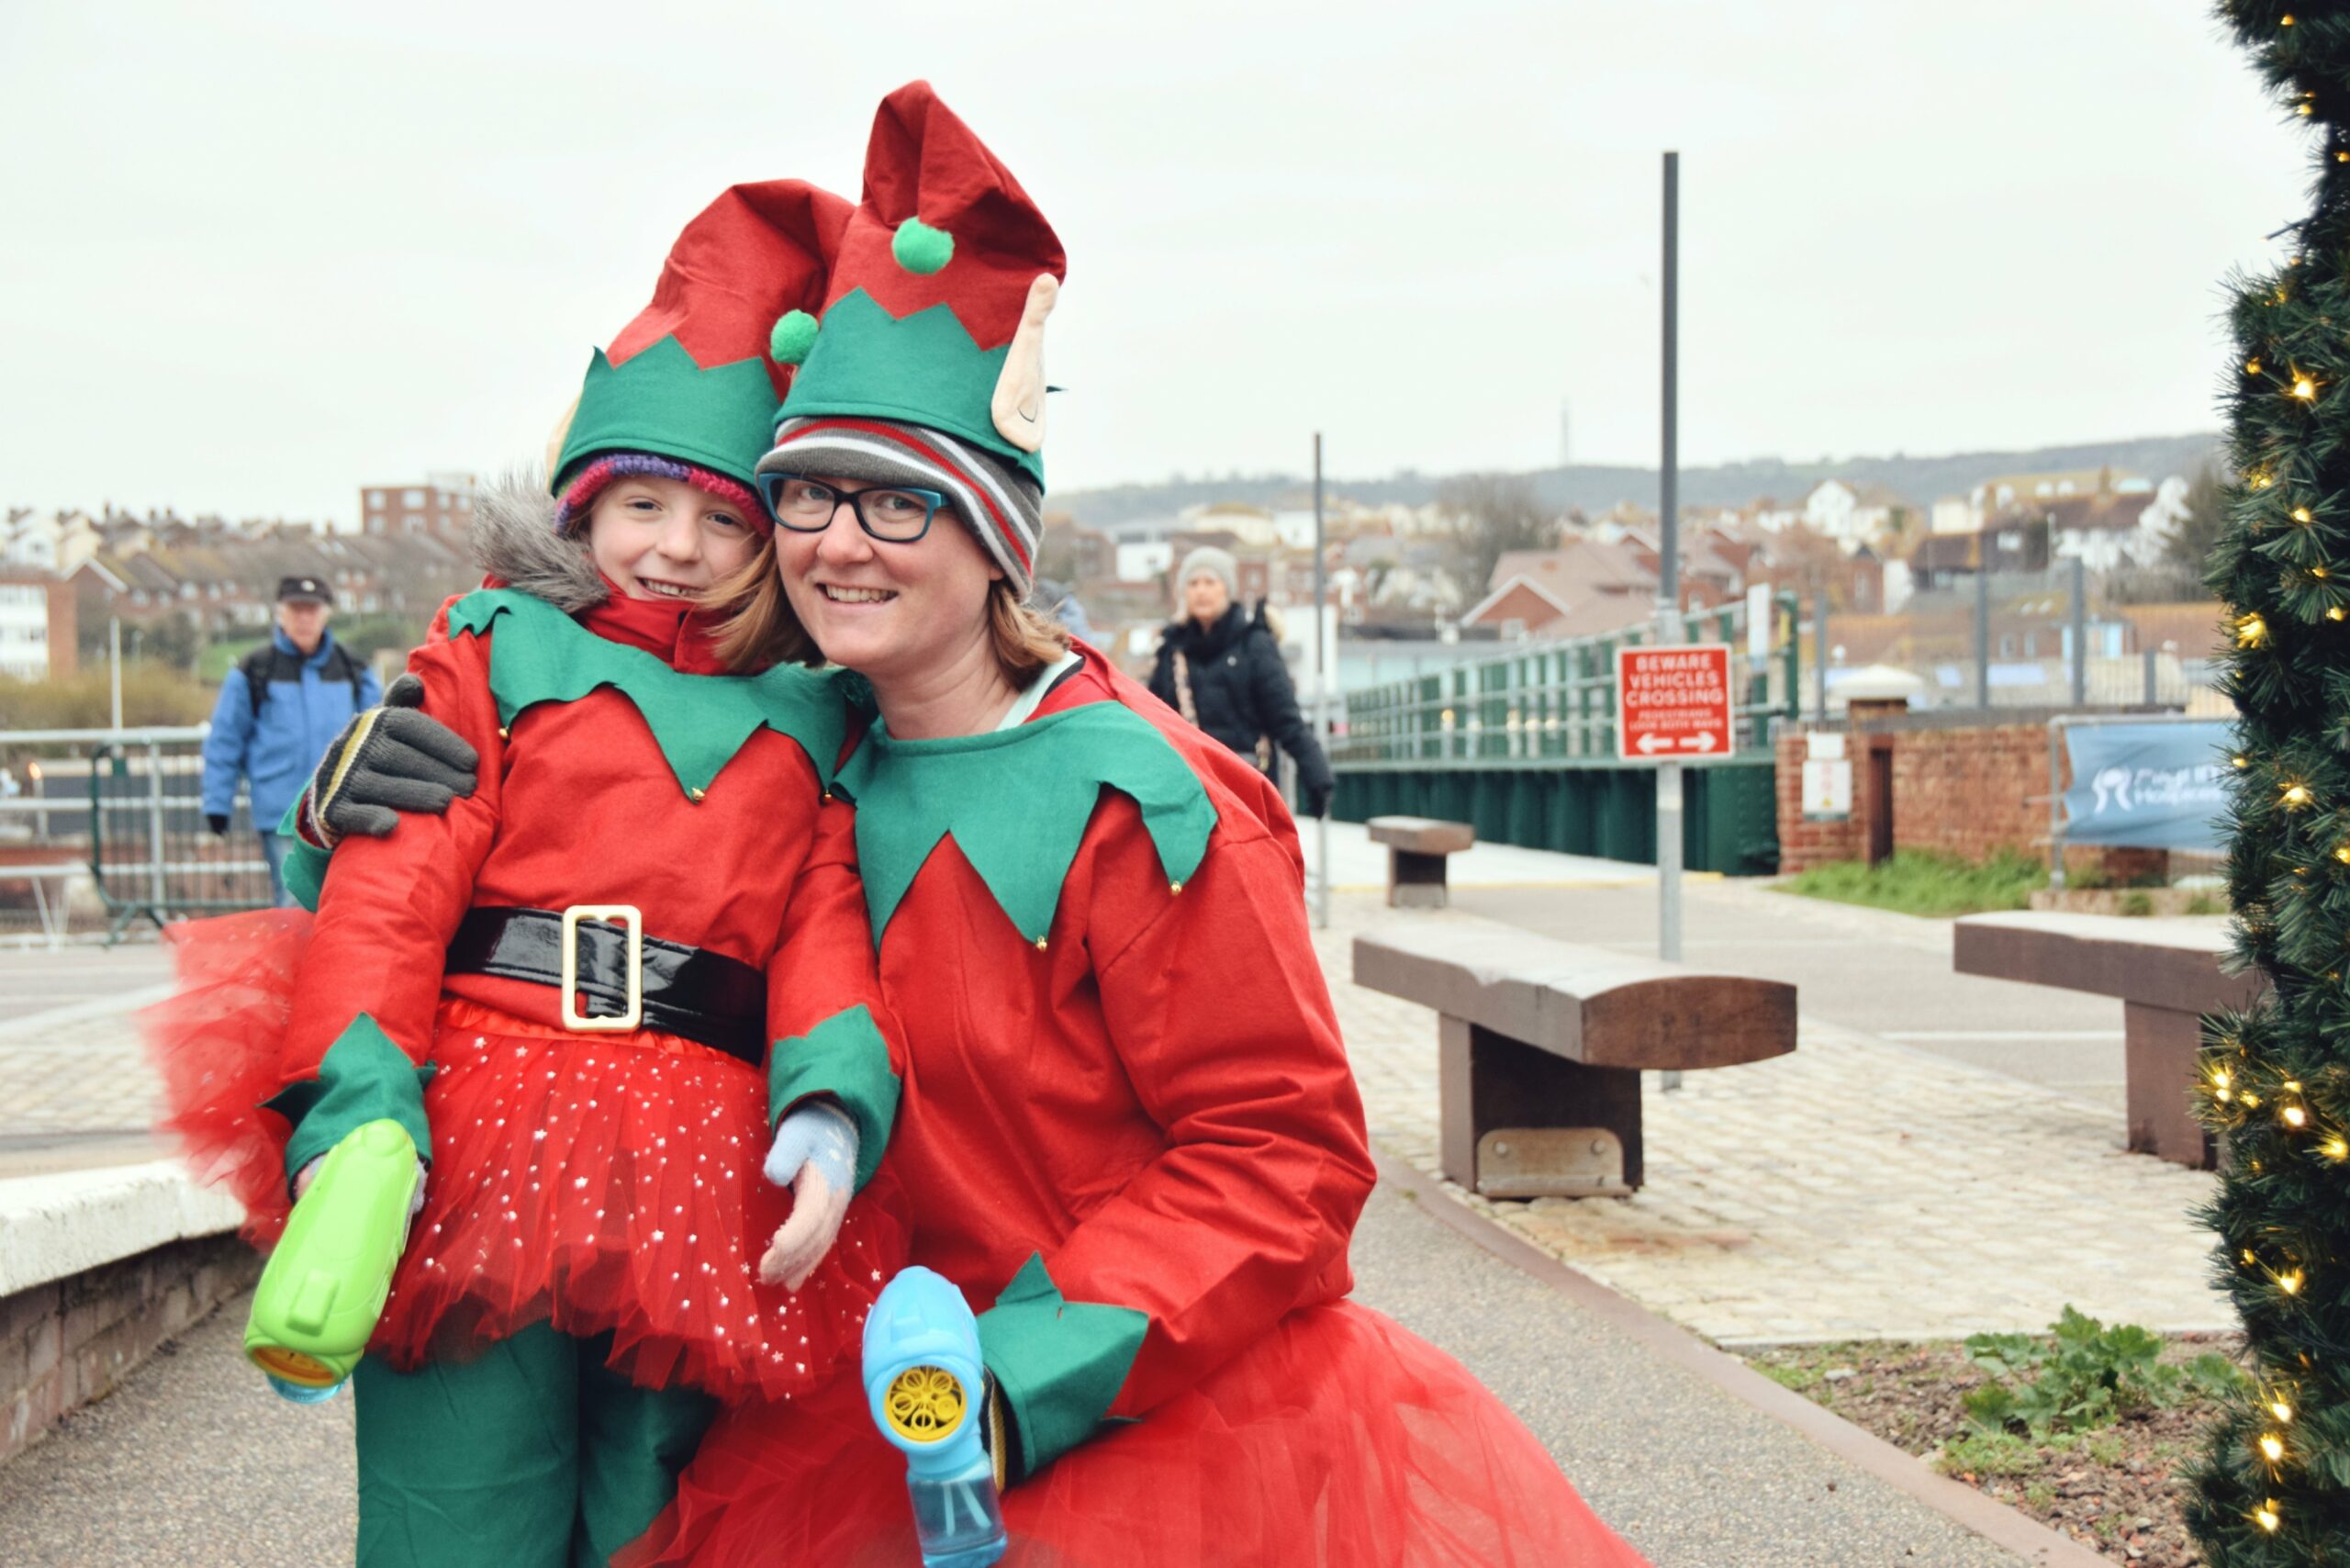
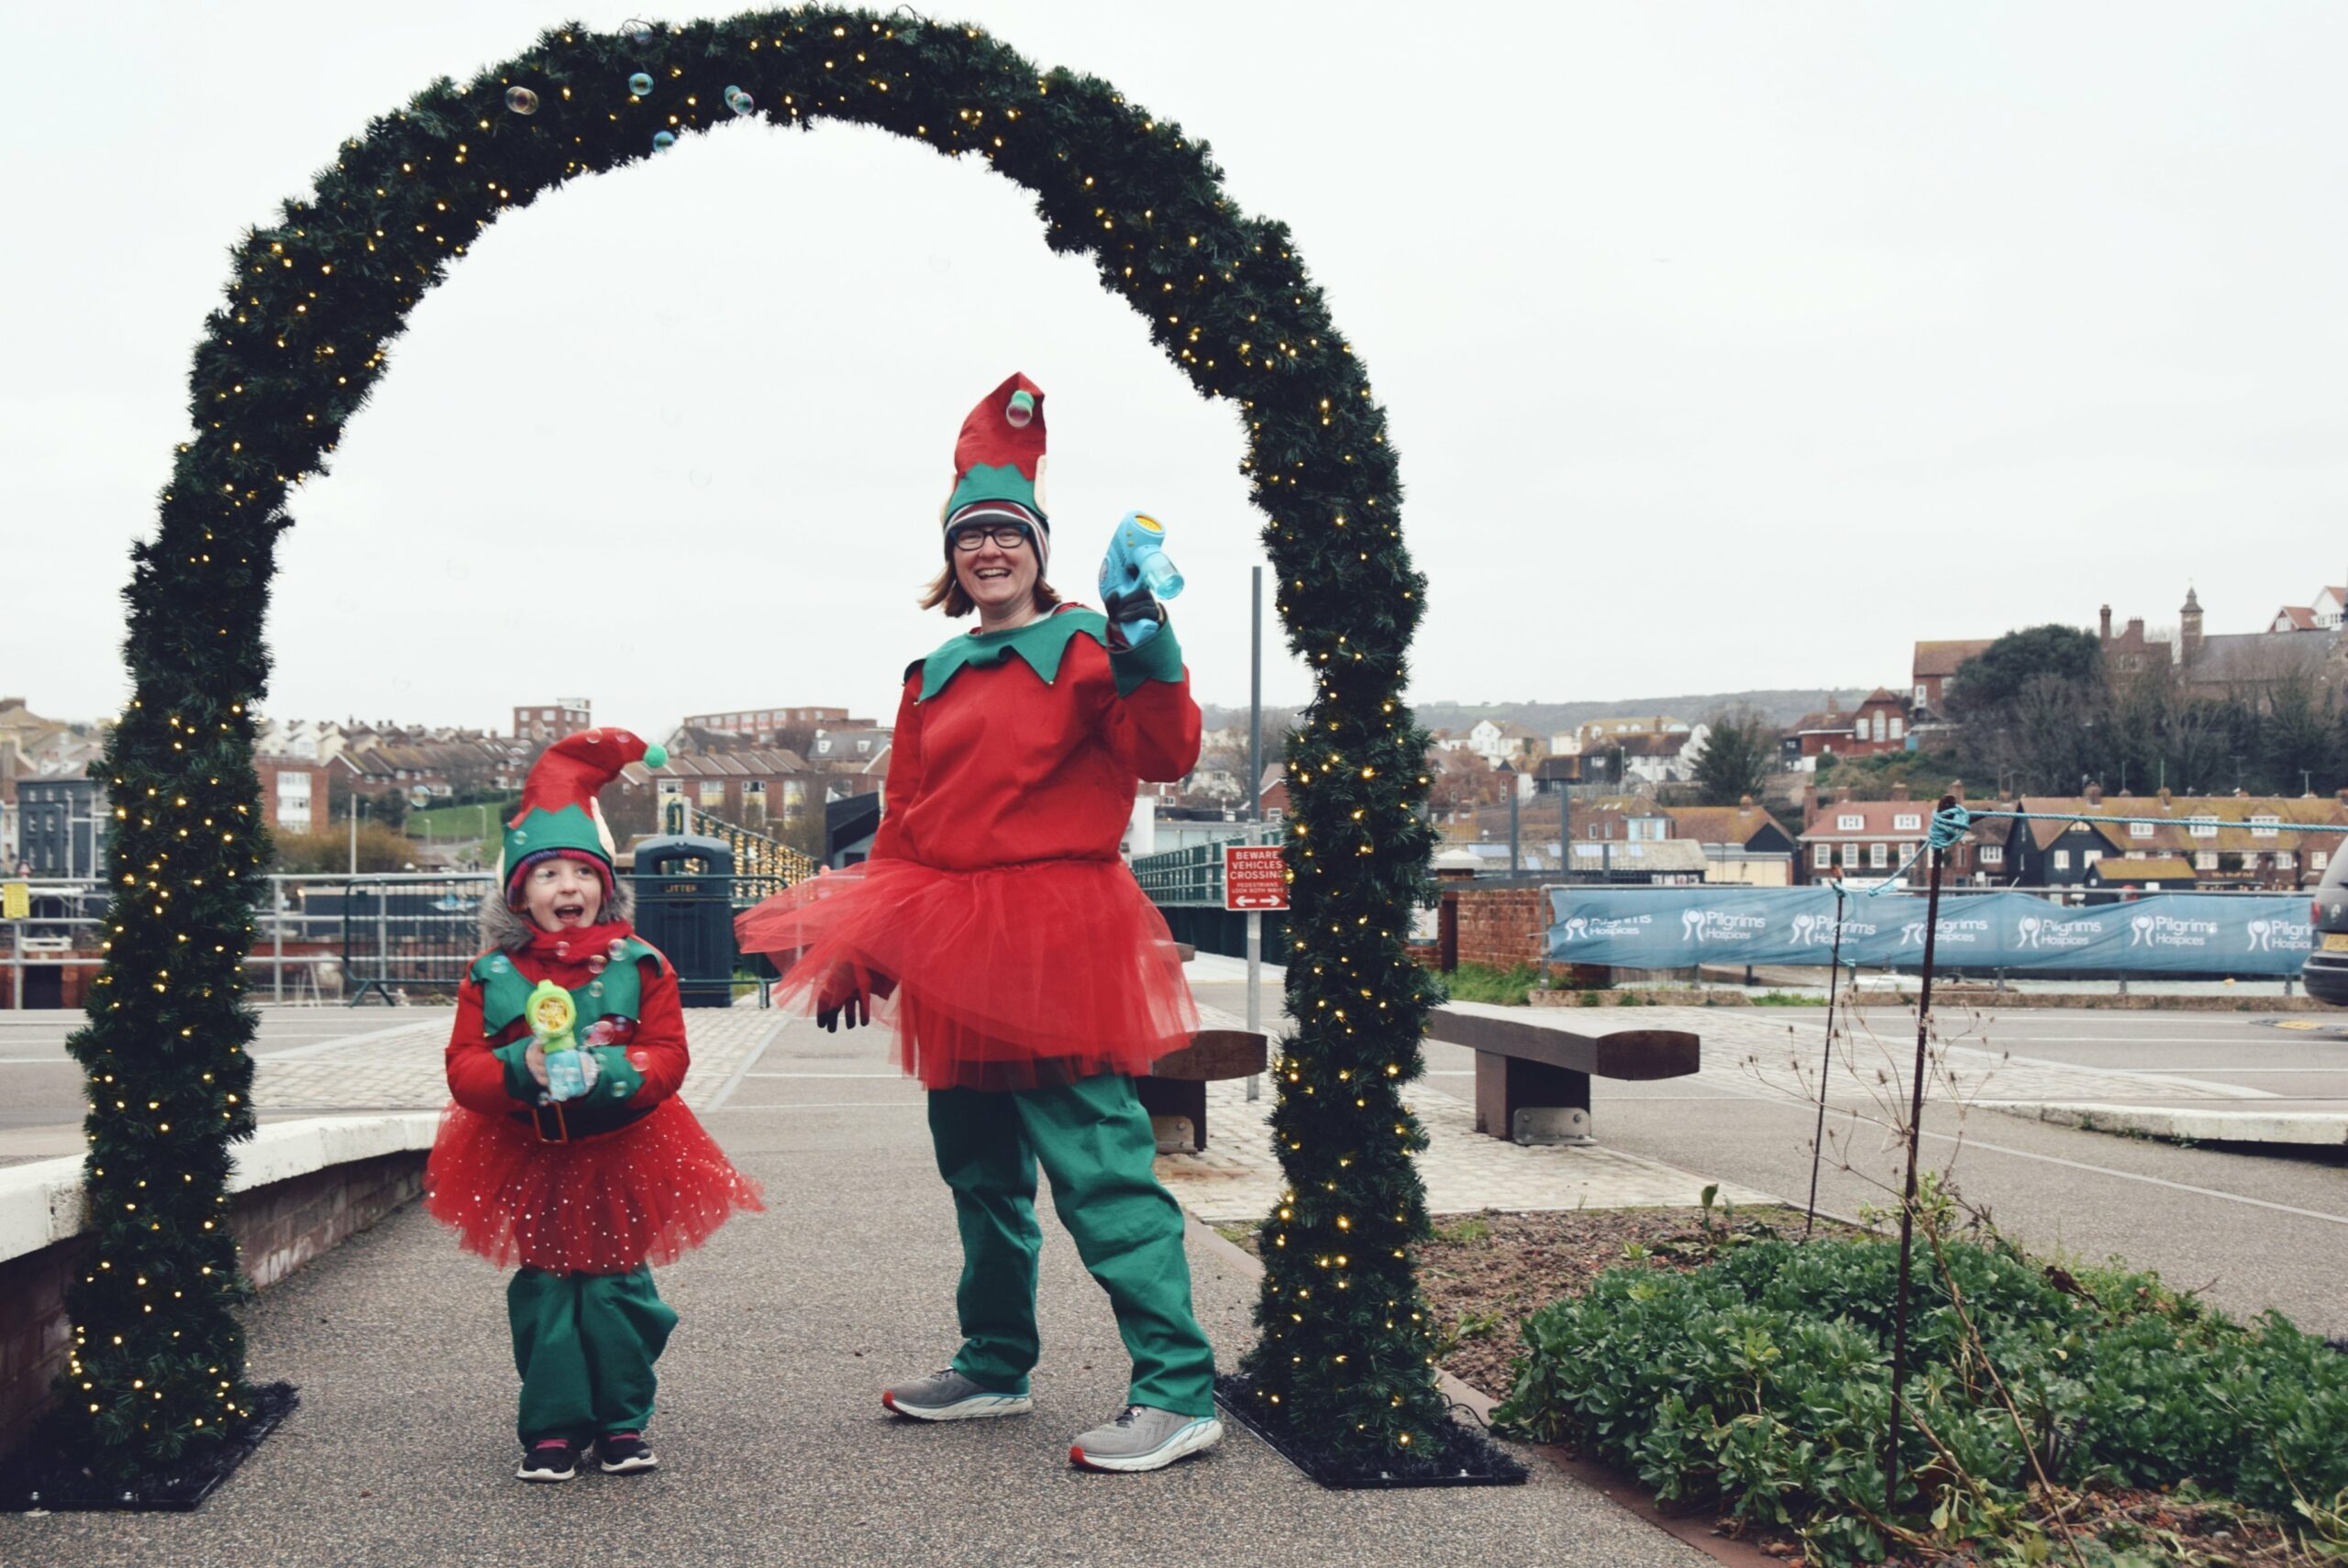
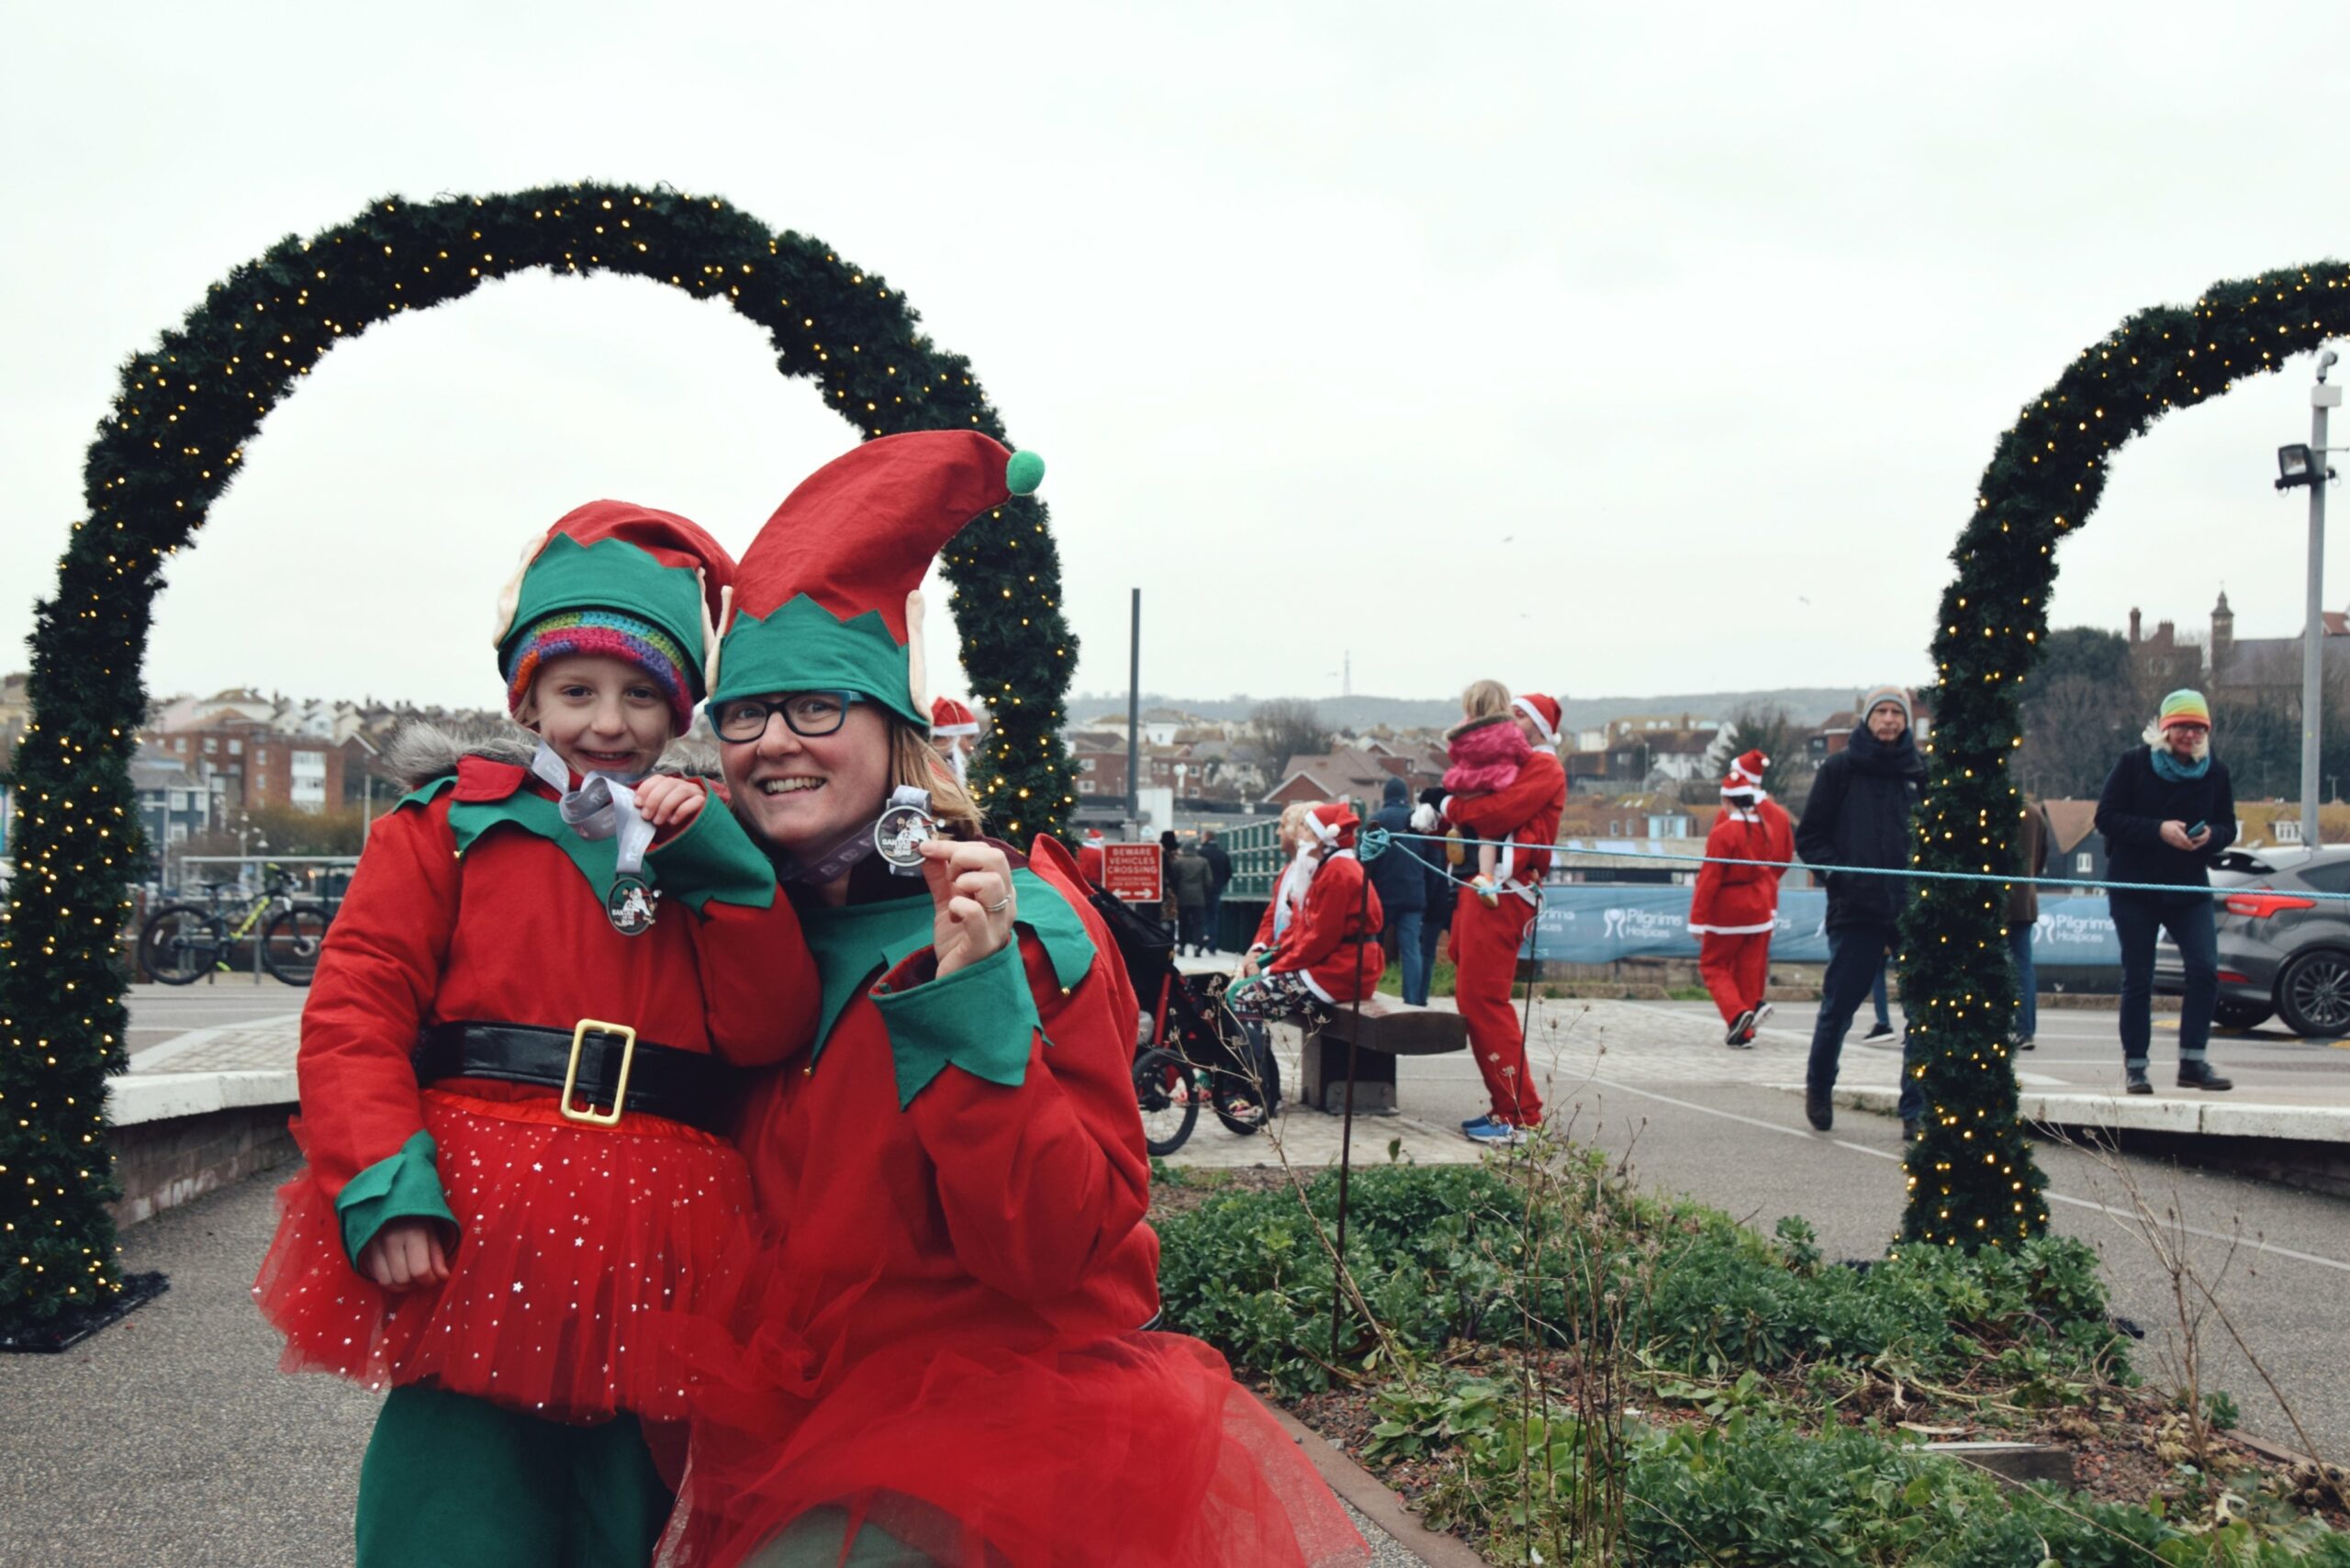
Eleanor raised funds over the festive period in 2022 and also took part in Santas on the Harbour! in December 2022 with her mum, Charlotte, who is a Trainee Advanced Clinical Practitioner at Pilgrims Hospices.
Eleanor and Charlotte at Santas on the Harbour! 2022 in Folkestone
Young fundraiser Eleanor said: “I wanted to fundraise for Pilgrims because it’s kind and thoughtful to raise money for people who help others who are poorly. It means they can buy some new equipment for people to use. My mummy works at the Ashford hospice and she tries to help people feel a little bit better. I think everyone who works at Pilgrims is fantastic!”
Eleanor continued: “I was so proud that I wore my medal to school! I have just joined Brownies, and the fundraising goes towards my Charities badge, which is very exciting.”
“I want to say an enormous thank you to all my family and friends who donated and sponsored me and came to Folkestone on the day of the run, to cheer me on! It was really tiring, but so much fun and I would love to do a Pilgrims run again. I would also like to say thank you to Pilgrims for all the amazing work they do and for letting me run for them. I am very proud of my mummy for what she does.”
Charlotte added: “I’m so proud of Eleanor; I see first-hand how the money can help people. At 7-years-old, to have raised £5,401.01 is absolutely fantastic and for Eleanor to want to fundraise again is just amazing. She is already asking about her next challenge! Thank you to her sponsors for their generosity. We hope that her story inspires others to fundraise for charity.”
Pilgrims Hospices cares for thousands of local people each year, free of charge, during the most challenging time in their lives. They offer care and support in people’s own homes, in the community and in their inpatient units as well as running a 24-hour advice line.
9th March 2023
UNFRAMED, Ashford’s first mural festival is coming to the town centre and a Pilgrims Hospices shop near you!
Pilgrims Hospices are proud to be one of 14 special locations taking part in Ashford’s first mural festival, UNFRAMED!
Ashford will be turned into a vibrant masterpiece as a number of national and local artists take to its streets to transform blank walls into a sea of colour and creativity. All of the murals are in close proximity of each other around the town centre and will be part of the UNFRAMED art trail for local residents and visitors to enjoy.
Curated by street art and mural experts Accent London and The London Mural Company, artists include Mr Doodle, Alex Chinneck, Charley Peters, Will Redgrove, Curtis Hylton, Andy Welland, and many more.
Pilgrims Hospices’ location will be at one of its charity retail stores and its well-loved Castle Street shop will be the canvas. Here, a spectacular and themed artwork will be revealed and has been curated by Will Redgrove in association with the hospice team.
The painting will be one of the last to be curated, just before the art trail formerly opens to the public.
The charity have worked closely with the artist, Will Redgrove, to ensure that the design has hospice meaning and resonates with trail viewers, whilst also showing nature in a vibrant and bold setting.
Pilgrims Hospices representative, Kate Duddell, said: “At its heart, Pilgrims Hospices is dedicated to ensuring people living with an incurable illness can access the quality care and comfort they deserve. Our environment is so important and we wanted to work closely with Will to ensure that this masterpiece has meaning and the elements represent what the hospice is all about, yet in an abstract way.”
Nature is the focus of the Pilgrims mural and it’s nothing new that spending time in the great outdoors and within a natural setting does wonders for our physical health and mental wellbeing. With all these benefits, it’s little wonder why nature is the focus of the Pilgrims artwork. It is a meaningful representation of everlasting love, gratitude, respect, memory and care, which the natural symbols within the artwork represent; all of which are important in Pilgrims’ daily work in caring for the east Kent community at the end of life.
Kate added: “People think that hospices are sad places, but really they are places to help our patients live fully and well in the time that they have. Our welcoming facilities and gardens enable families, carers and patients to have a brighter and inspiring setting for their care. Hospices aren’t places to be fearful of – they’re places that remove fears within natural and safe surroundings.”
Visitors to the festival will be able to download a map, scan a QR code at each site, or pick up a physical map from Coachworks, Low Key Tap Room, Picturehouse or Made in Ashford and wander around the town centre immersing themselves in the street art and learning more about each piece.
The mural festival will run from Saturday 1 April to Sunday 16 April 2023, with arts workshops, street dance and film screenings available to all visitors.
Keep up with all the latest updates as they happen and watch the progress of the artwork being created by following @ashfordunframedon Instagram.
Pilgrims Hospices care for thousands of local people each year, free of charge, during the most challenging time in their lives. They offer care and support in people’s own homes, in the community and in their inpatient units as well as running a 24-hour advice line.
Laura: Pilgrims Hospices “were a shining light in a very dark time”
Mother’s Day can be a difficult time of year for anyone who has lost that special person.
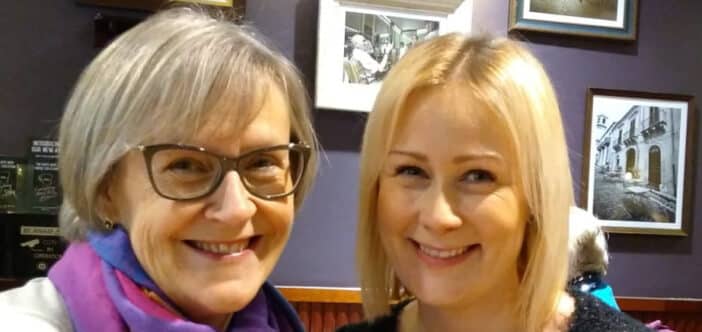
My mother, Dorothy, was one of a kind, a dedicated nurse for more than 40 years with the NHS and above all an absolute inspiration to her family, friends and colleagues. I have been asked to share my story about my beautiful mother, but there are no words to truly express what a wonderful woman she truly was.
In the later part of her career, she was a theatre sister and worked with many consultants in the Head and Neck team. I, too, now work within Head and Neck at the William Harvey Hospital, working with the same consultants and I often hear how wonderful Mum was. She was a force to be reckoned with in the best way! Keeping everyone in check and putting her patients first. In fact, the manager of theatres told me: “Dorothy taught me everything I know”.
Another example of Mum’s calibre was completing the Moonwalk with me in 2019. We walked 26 miles from midnight to 8am. This was an amazing achievement, but what many people didn’t realise was that Mum had sprained her ankle the week before and was in a lot of pain. She refused to give up! It took her well over a month to recover from walking that distance. We raised over £1,500 between us for those suffering with breast cancer.
We were lucky enough to be able to keep Mum in the family home throughout her illness, but the contact we had with the hospice was second to none. Whenever we had a query it was answered immediately. Whenever we needed a doctor or a nurse, they were there. They truly were a shining light in a very dark time.
Laura
Unfortunately, Mum was diagnosed with cancer in March 2020. It couldn’t have been a worse time as the country experienced its first lock down. It meant we were unable to spend as much time with her, which was very difficult indeed.
She tried a few different treatments but they were unsuccessful, and so she made the brave decision to spend her last few months with family and doing what she could to make memories.
That’s where Pilgrims stepped in. We were lucky enough to be able to keep Mum in the family home throughout her illness, but the contact we had with the hospice was second to none. Whenever we had a query it was answered immediately. Whenever we needed a doctor or a nurse, they were there. They truly were a shining light in a very dark time. They helped us with aids to help Mum move around more easily: different cushions, frames and eventually a hospital bed.
We were also able to take advantage of bereavement counselling after Mum passed. This really helped and was so valuable to us. I am now studying Psychotherapy due to the impact that such a service had on me during the worst time of my life.
We were so very grateful that we all wanted to contribute as a tribute to Mum after she had passed. My father, who has lost the love of his life, gave a donation. My brother raised money by setting up a fishing competition at Hythe. My sister-in-law did a tandem sky dive and I completed a wing qalk. I think that dedication to raising money for Pilgrims speaks volumes about how our family feel.
Thank you Pilgrims, for all that you do; thank you.
Pilgrims Hospices care for thousands of local people each year, free of charge, during the most challenging time in their lives. They offer care and support in people’s own homes, in the community and in their inpatient units as well as running a 24-hour advice line.